What is AI Sculpture Filter?
Turn a portrait into a sculpture-inspired image by describing the material, surface finish and lighting. Try it for gallery or portfolio piece, with your own setting and a clear visual intention.

a playful visual story
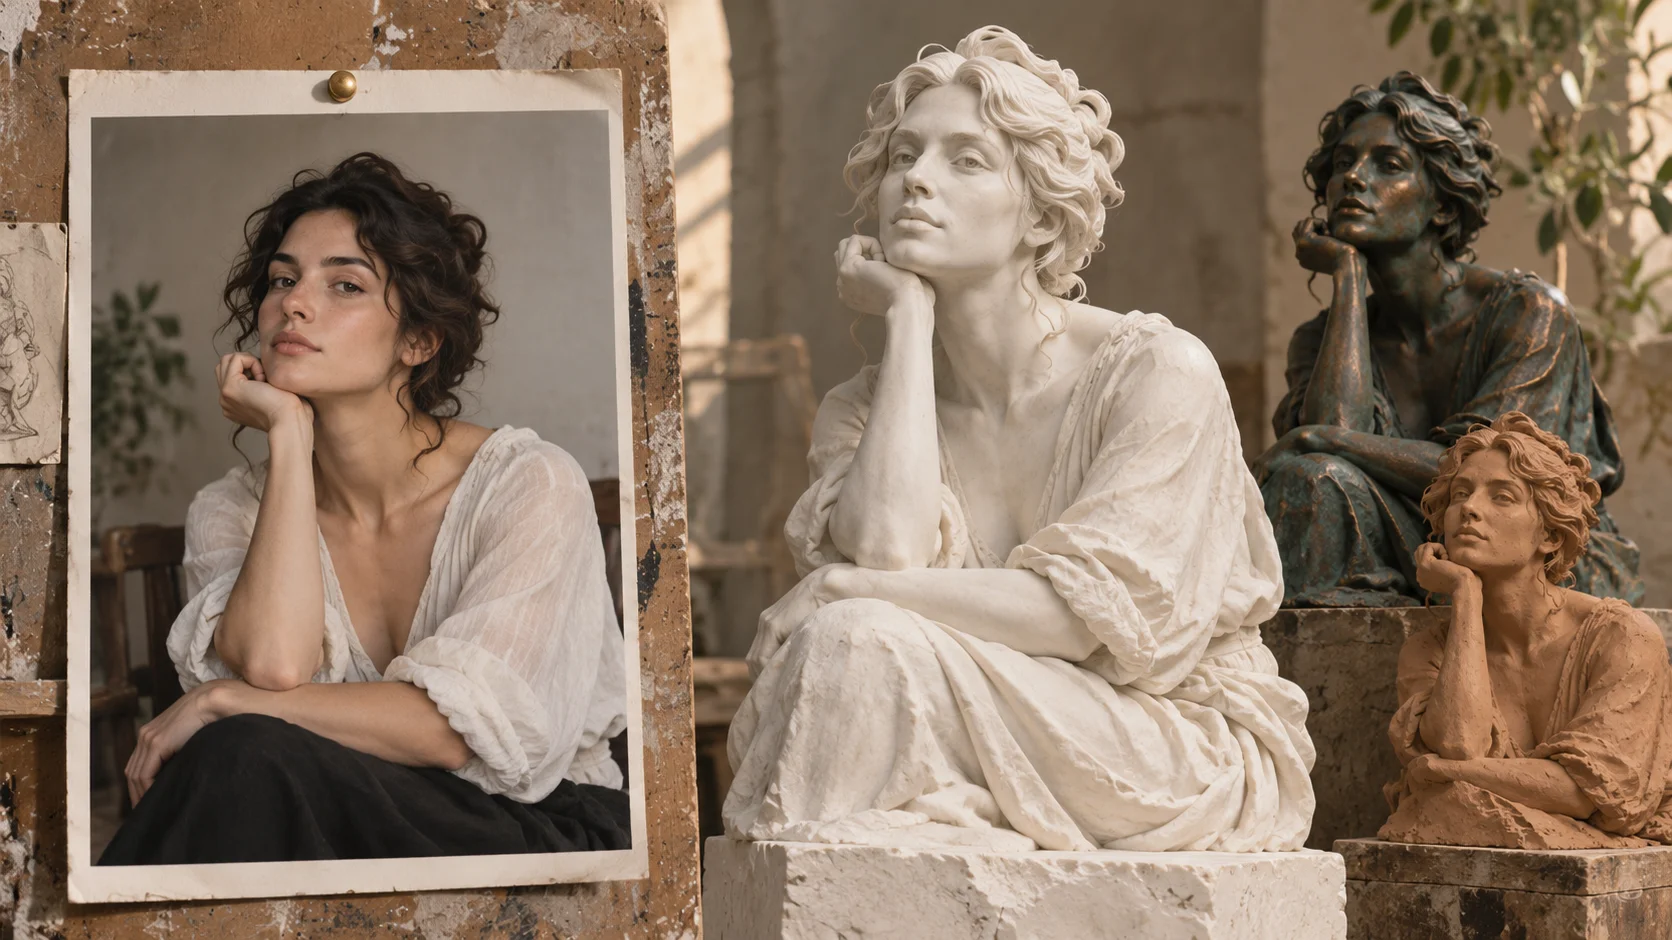
Turn a portrait into a sculpture-inspired image by describing the material, surface finish and lighting. Try it for gallery or portfolio piece, with your own setting and a clear visual intention.
Choose Text to Image or Image to Image, prepare the matching inputs and describe one useful direction. Check the settings and quote, then submit and review the result in History.
Check your current account credits and the selected model’s access conditions. When the available balance covers the quoted job, you can generate without buying more credits.
Use one sharp portrait with clear facial contours and enough space around the head and shoulders. Choose an angle you want to keep.
Read the live credit quote for the selected model and settings before submitting your sculpture portrait. Preparing inputs or editing a description does not start a generation.
Follow the submitted job’s estimate and progress. The model, settings and queue affect waiting; History keeps the completed image available for review and download.
Turn a portrait into a sculpture-inspired image by describing the material, surface finish and lighting. A head tilt, shoulder shape or distinctive profile can guide the composition. On alice ai, approach it as a playful visual story: a distinctive expression and a memorable setting. Look for the idea you would enjoy sharing, then refine the detail that makes it yours.
Create a sculpture image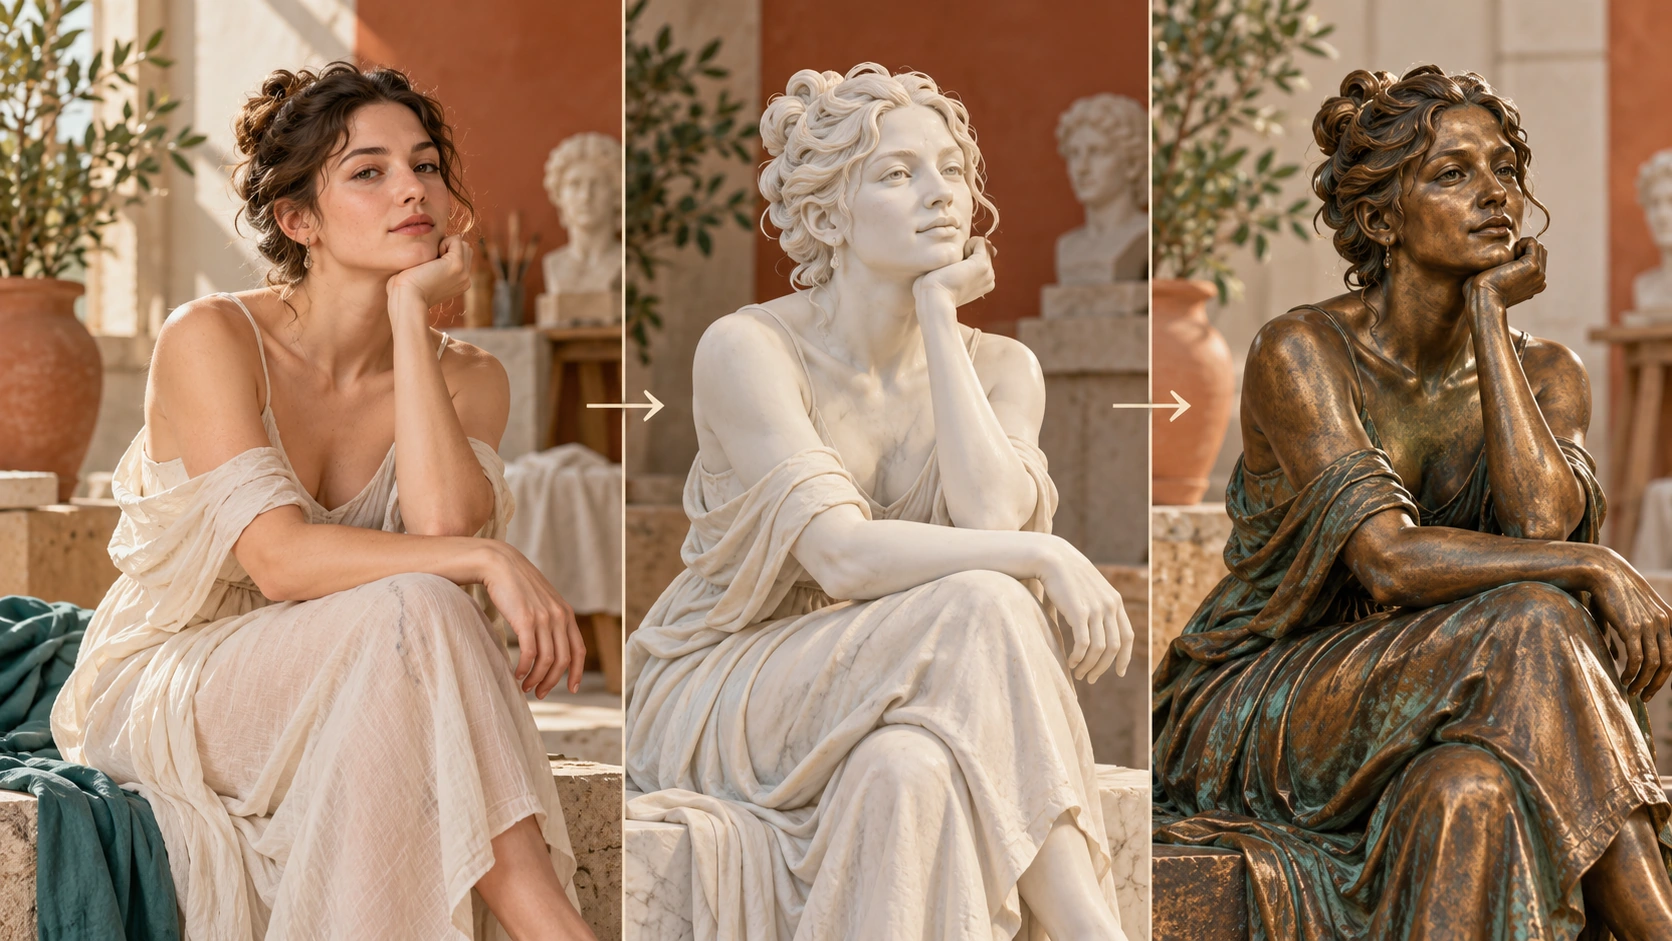
Prepare a clear subject and a focused direction before submitting a generation. Use a sharp, front-facing portrait with even lighting so the model can read facial structure and pose.
Plan the sculpture portrait as a simple visual sequence, then put the important decisions into your description. Name one material per prompt and add texture words like veined, patinated or chiselled rather than several finishes.
The interface shows a live credit quote before you commit, so you know the cost up front. Log in, start the generation job, then open History to compare runs. Review how well the pose and facial structure held, adjust the prompt, and regenerate if the material or texture missed the mark.
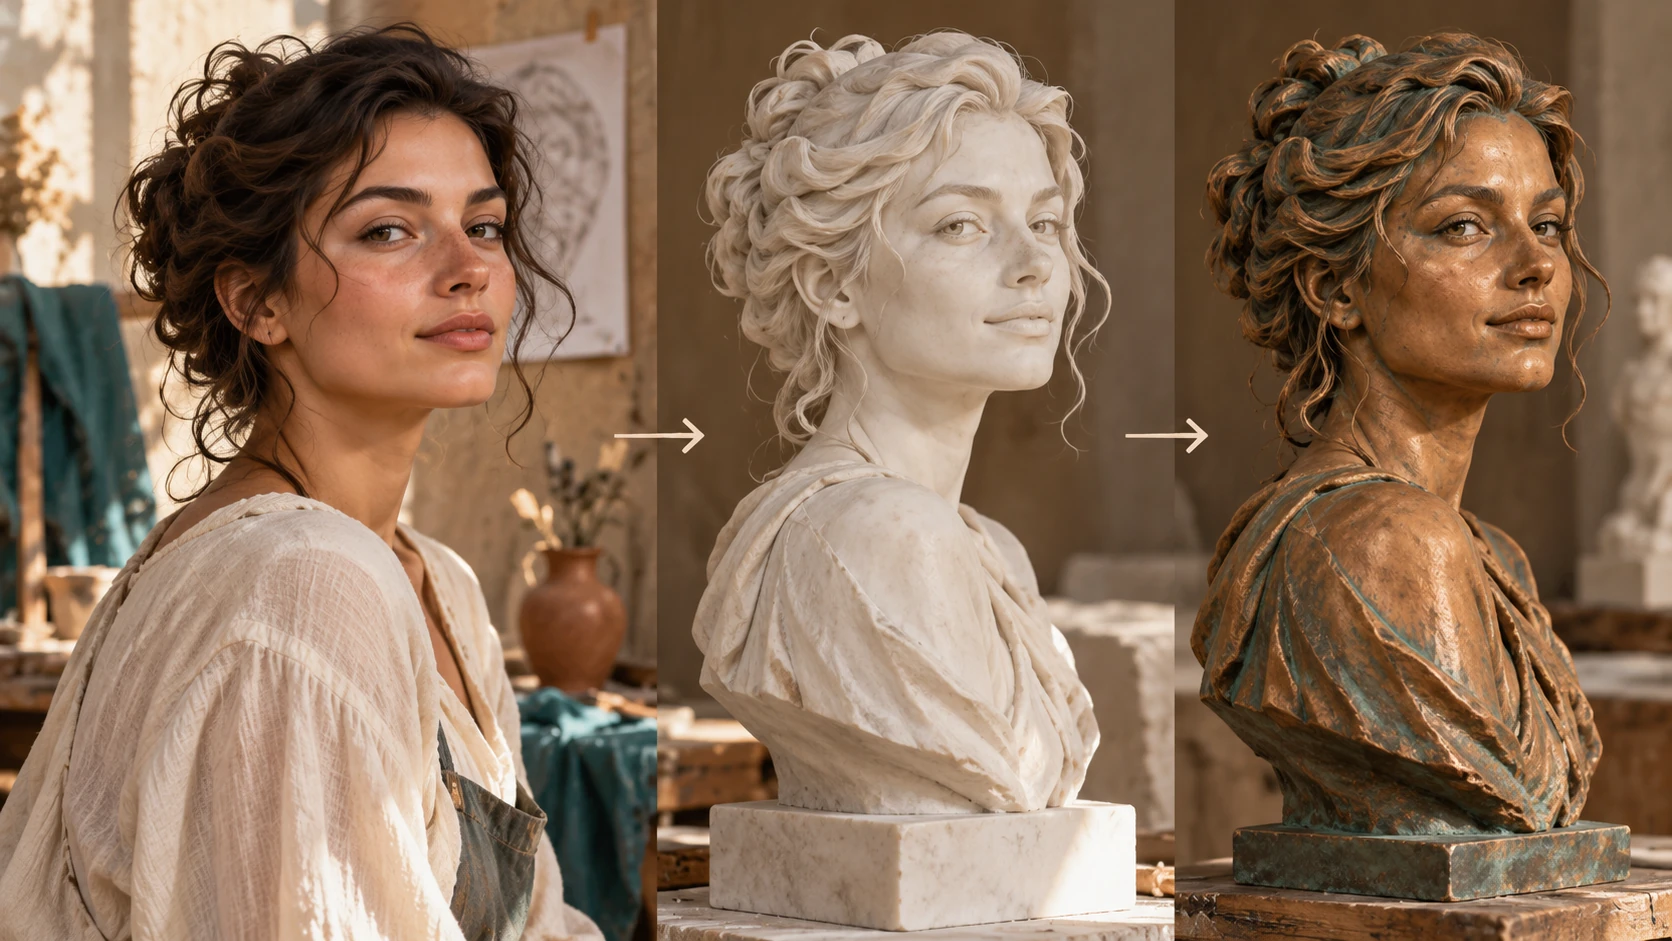
Choose a clear portrait where the face and shoulders are easy to read. Good light and a simple background help the model keep the silhouette. Avoid heavy motion blur or cropped heads. The photo becomes the reference for pose, shape and composition, so pick one you want carried through to the sculpture image.
Write a short prompt describing the finish: editable white marble, patinated bronze, clay or carved stone. Add notes on surface texture, lighting and plinth style. Use the model controls to guide the look. Keep instructions concrete and avoid stacking conflicting materials in one prompt.
You can steer toward editable white marble, patinated bronze, clay or carved stone. Each changes how light and shadow sit on the surface. Marble reads smooth and cool, bronze adds darker patina in the recesses, clay feels softer, and stone shows chisel marks. Describing the finish in the prompt keeps results consistent.
The prompt stays editable before each run, so you can test a marble version and then a bronze one from the same photo. Model controls let you nudge the interpretation without swapping the reference. History stores earlier jobs so you can compare outputs and return to a direction that worked.
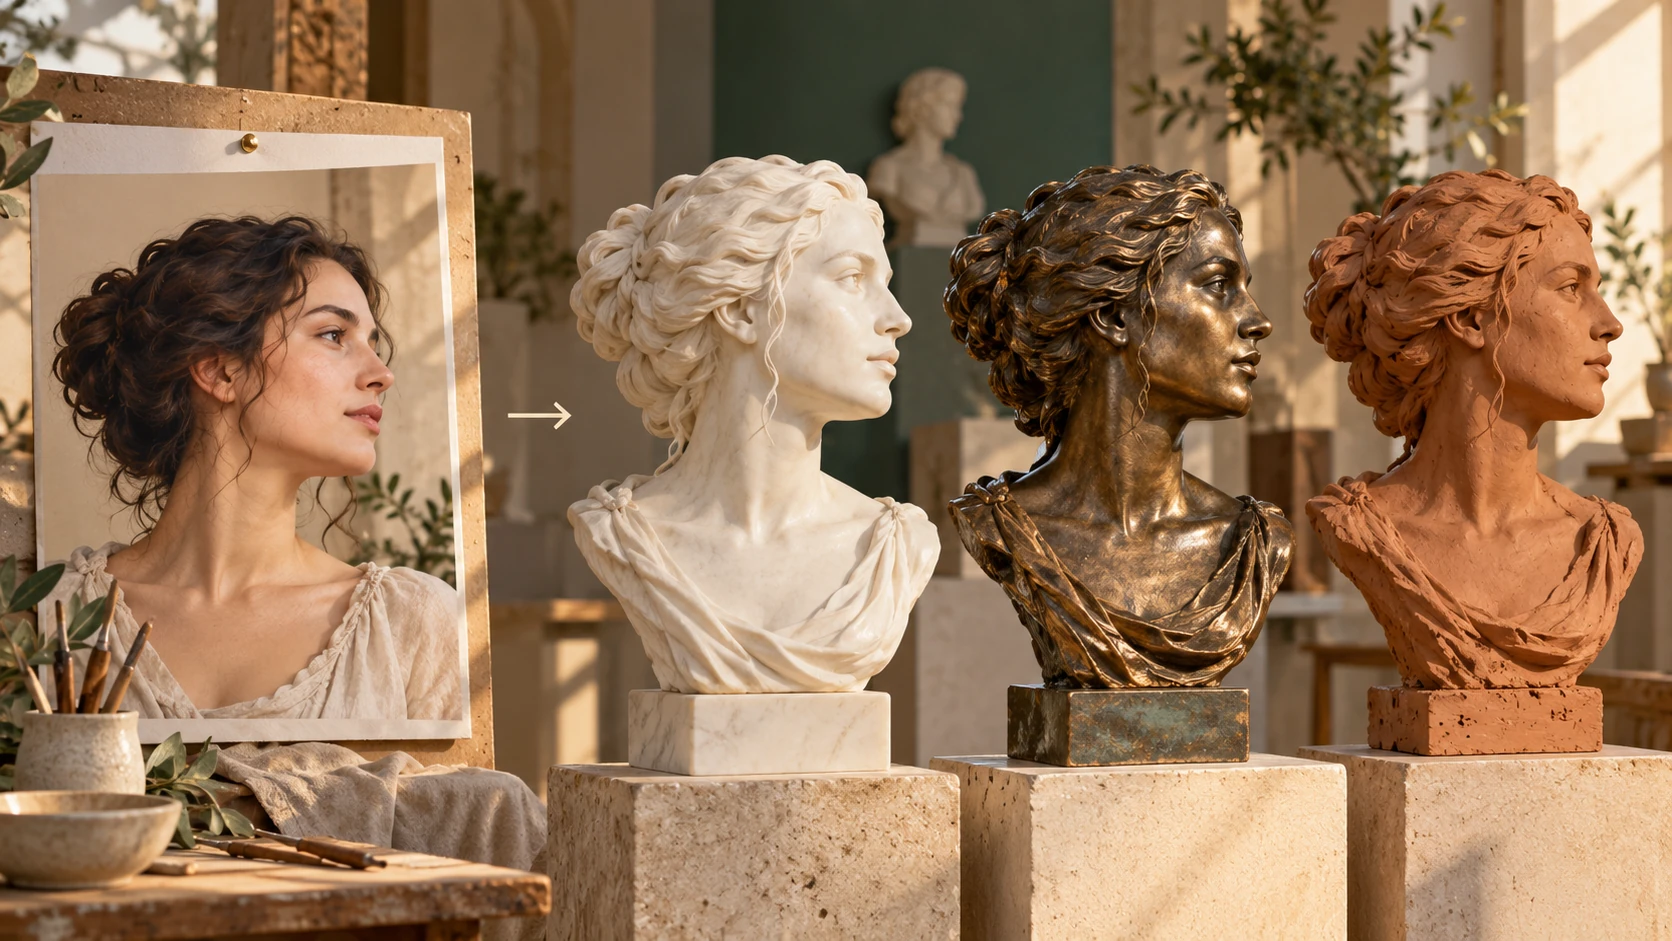
Turn a portrait into a marble or bronze image for a printed portfolio or exhibition page. The sculpture look gives a classical reference without a physical cast or studio booking.
Use a photo as the base for a stone or clay character image in a story or game concept. Keep the pose intact while changing the material to match a setting.
Create a sculpture-style portrait for a framed print or card. Compare marble against clay versions in History before choosing the one to print.
It produces a 2D image that looks sculpture-inspired, based on your uploaded portrait. The output is a picture file, not a 3D mesh and not a physical sculpture, so it is suited to viewing, printing or use in a layout.
A clear portrait with visible face and shoulders, even light and a simple background works best. Poses stay readable when the body shape is not hidden. Blurred or heavily cropped photos make it harder to retain shape and composition.
Yes. Describe the material in the editable prompt, such as white marble, patinated bronze, clay or carved stone. The model controls help guide the interpretation. Keep one material per prompt for a cleaner, more consistent result.
The filter is built to retain pose, shape and composition from the reference photo. Expect fabric and small details to read as sculptural forms, while the overall stance and proportions of the sitter stay recognizable for comparison.
Choose Text to Image for a new sculpture portrait made entirely from your description; it uses no uploaded reference. Choose Image to Image when one photo should guide the person, subject or composition. Select the mode first so the visible inputs match your intention.
You can prepare the sculpture portrait before submitting. To generate, check your signed-in account’s current credits and the selected model’s access conditions. If the available balance covers the displayed quote, you can proceed without buying more; no fixed free quota is promised.
Your sculpture portrait has a live credit quote based on the model and settings you choose. Check it before submitting. Editing the description or reviewing an idea does not start a job; submitting another generation creates a separately quoted attempt.
Use the estimate and progress shown for the submitted sculpture portrait job. Model choice, settings and queue conditions affect waiting. Check History for the completed image, and keep the existing task in progress instead of resubmitting the same request while you wait.
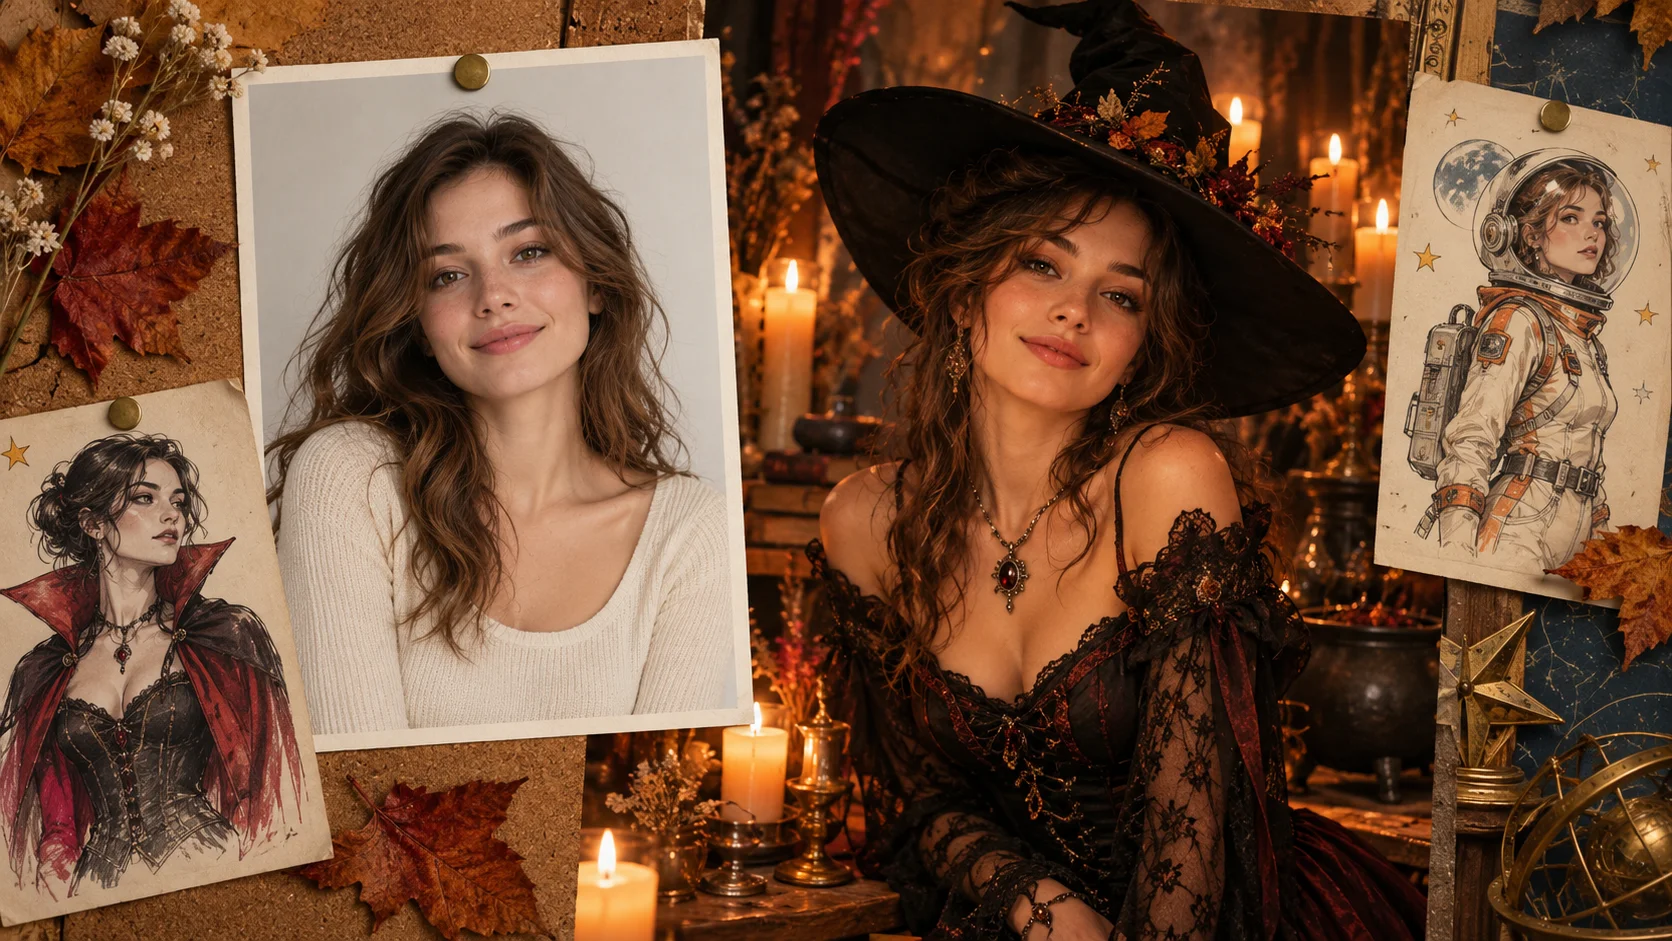
Explore AI Halloween Costume for a different visual direction. This guide explains its input, practical steps and the details to review.
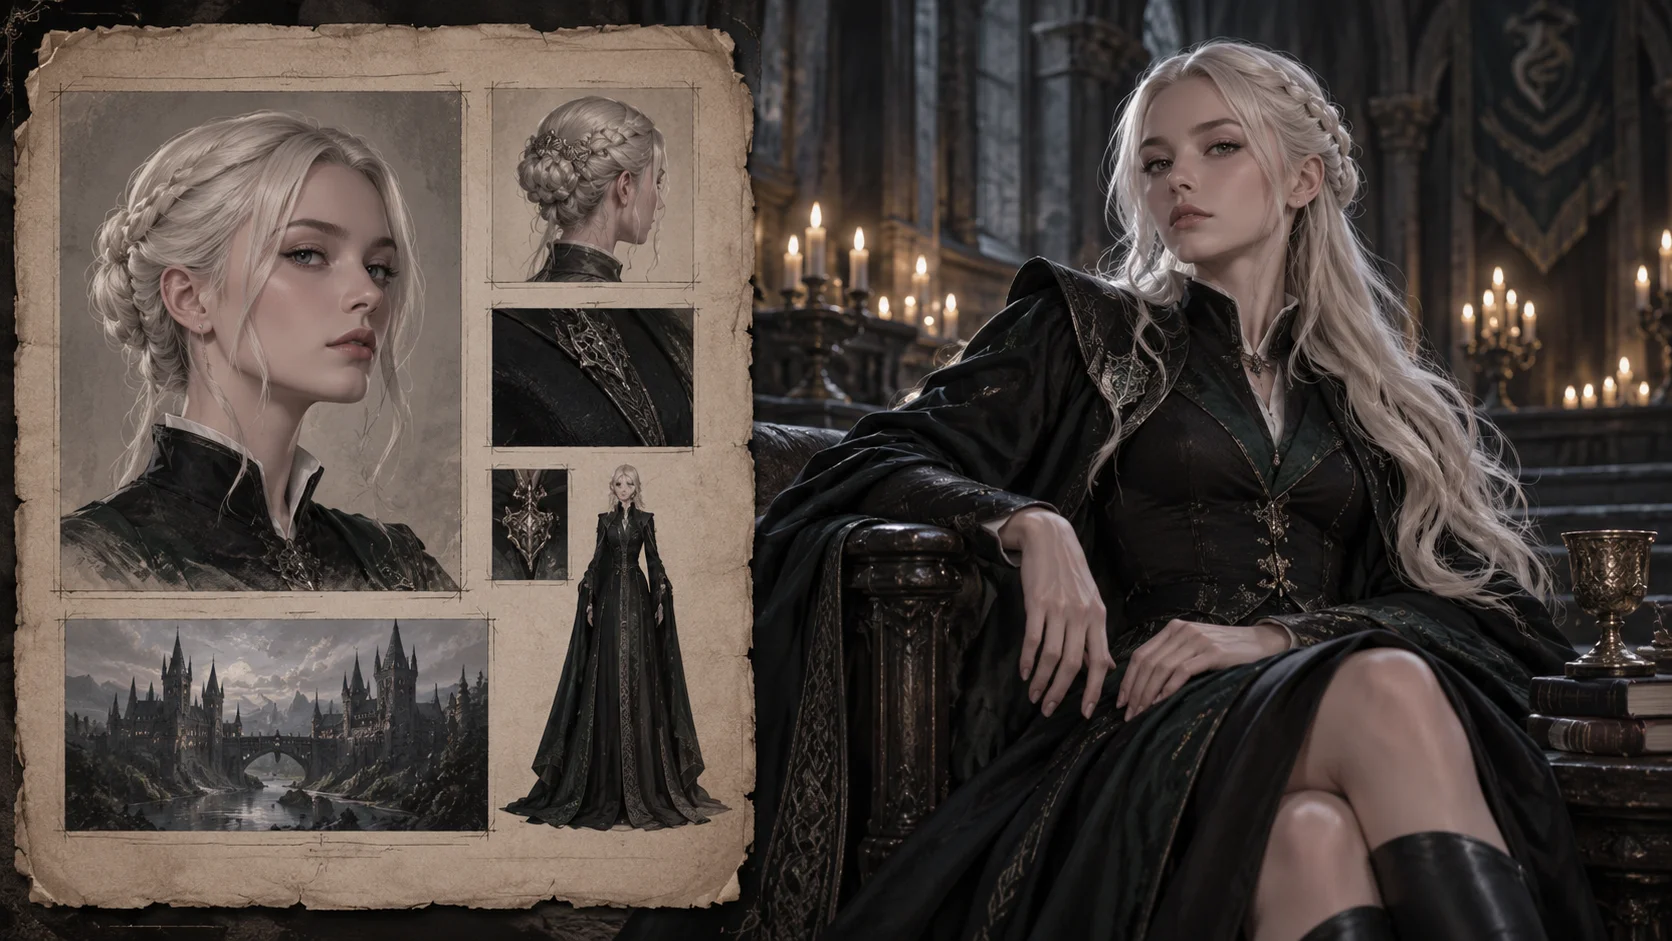
Explore Female Malfoy AI Generator for a different visual direction. This guide explains its input, practical steps and the details to review.
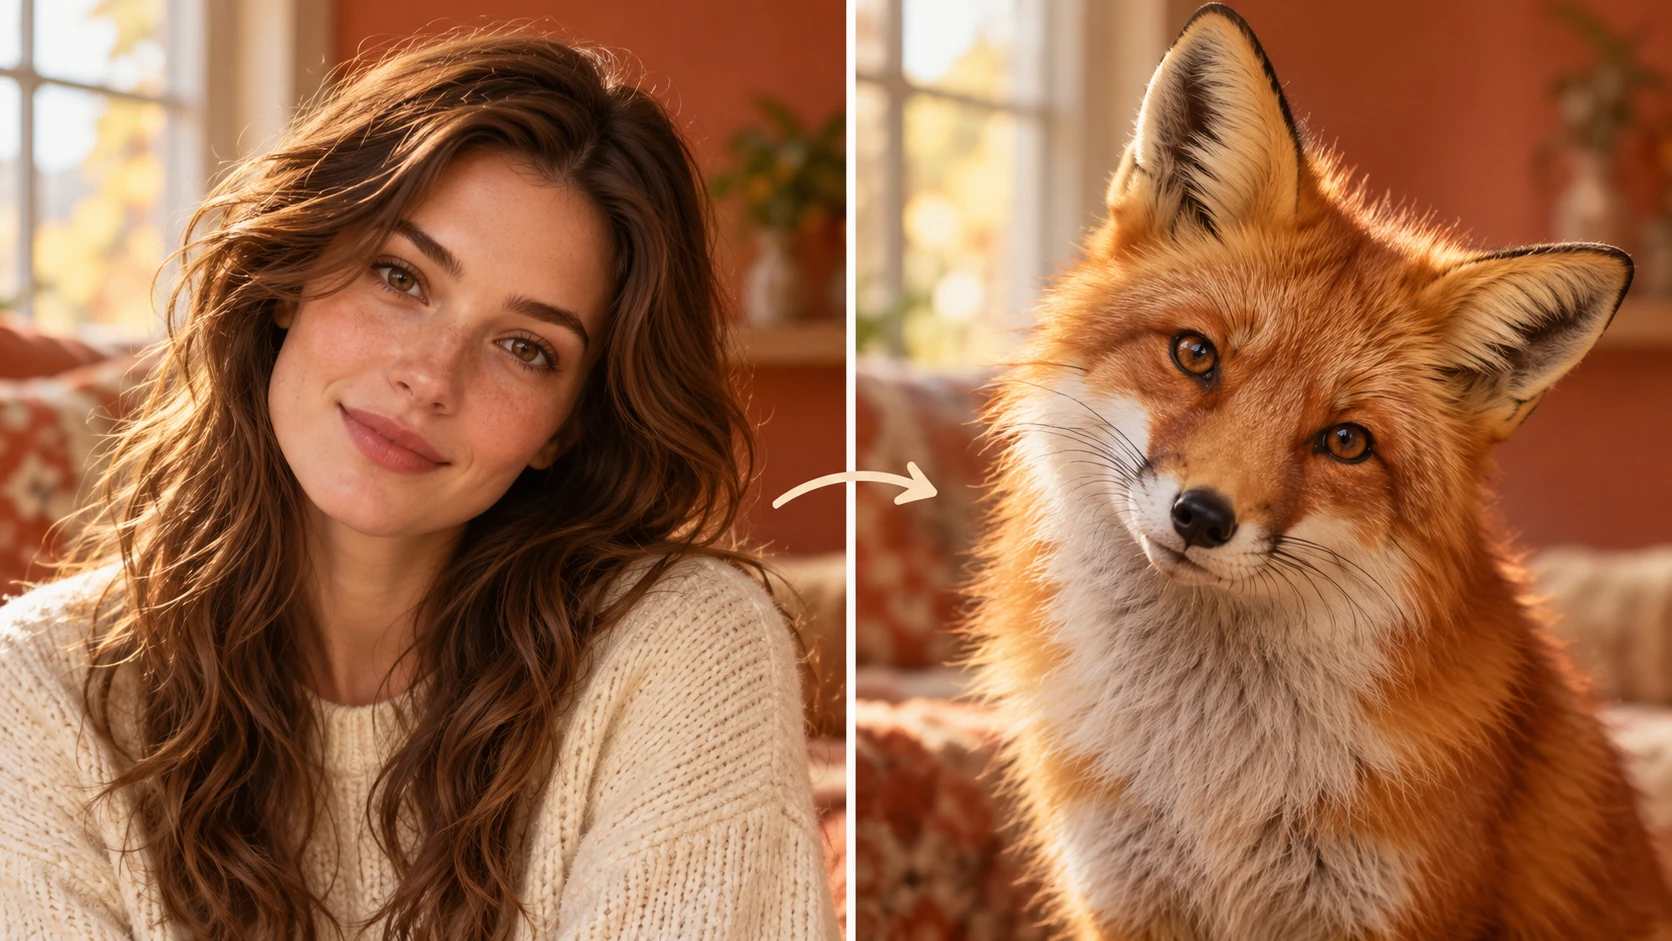
Explore Photo to Animal for a different visual direction. This guide explains its input, practical steps and the details to review.
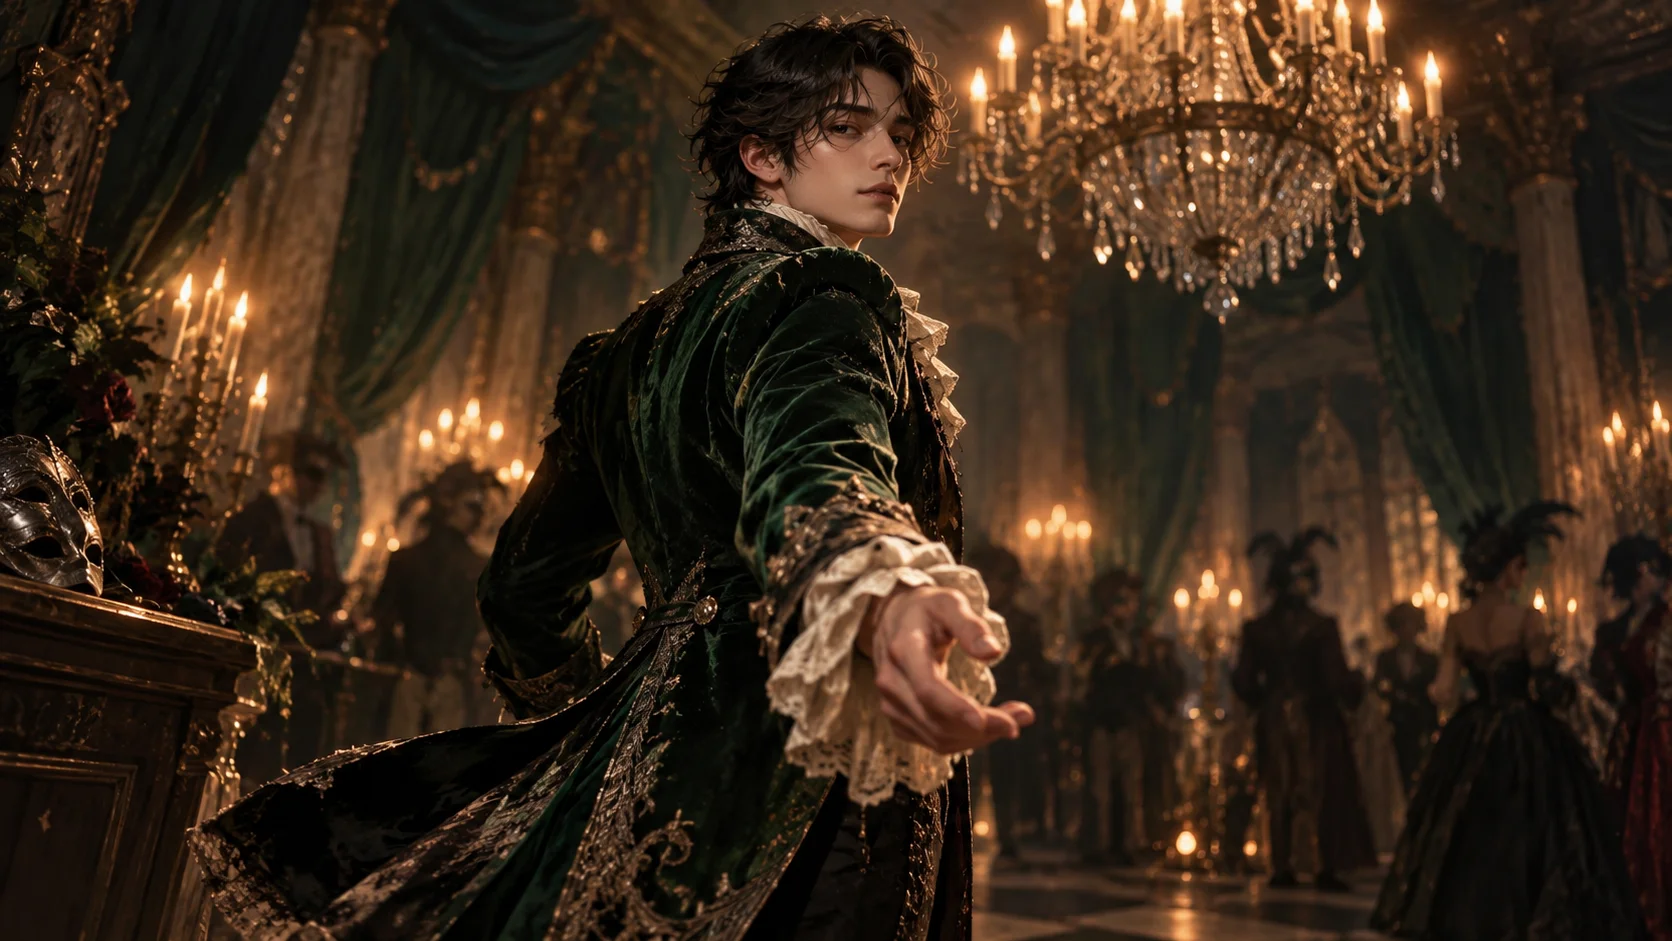
Explore AI Halloween Costume Transformation for a different moving scene. This guide explains its input, practical steps and the details to review.
Look for the idea you would enjoy sharing, then refine the detail that makes it yours. Prepare the sculpture portrait, read the current quote and submit when the direction is clear.
Create a sculpture imagealiceai.art · Updated