What can I make?
Make a costume portrait that combines a person, an outfit and a setting. Direct the fabric, accessories and lighting in your description, then review the finished image before choosing a character to share.

A portrait with a different story
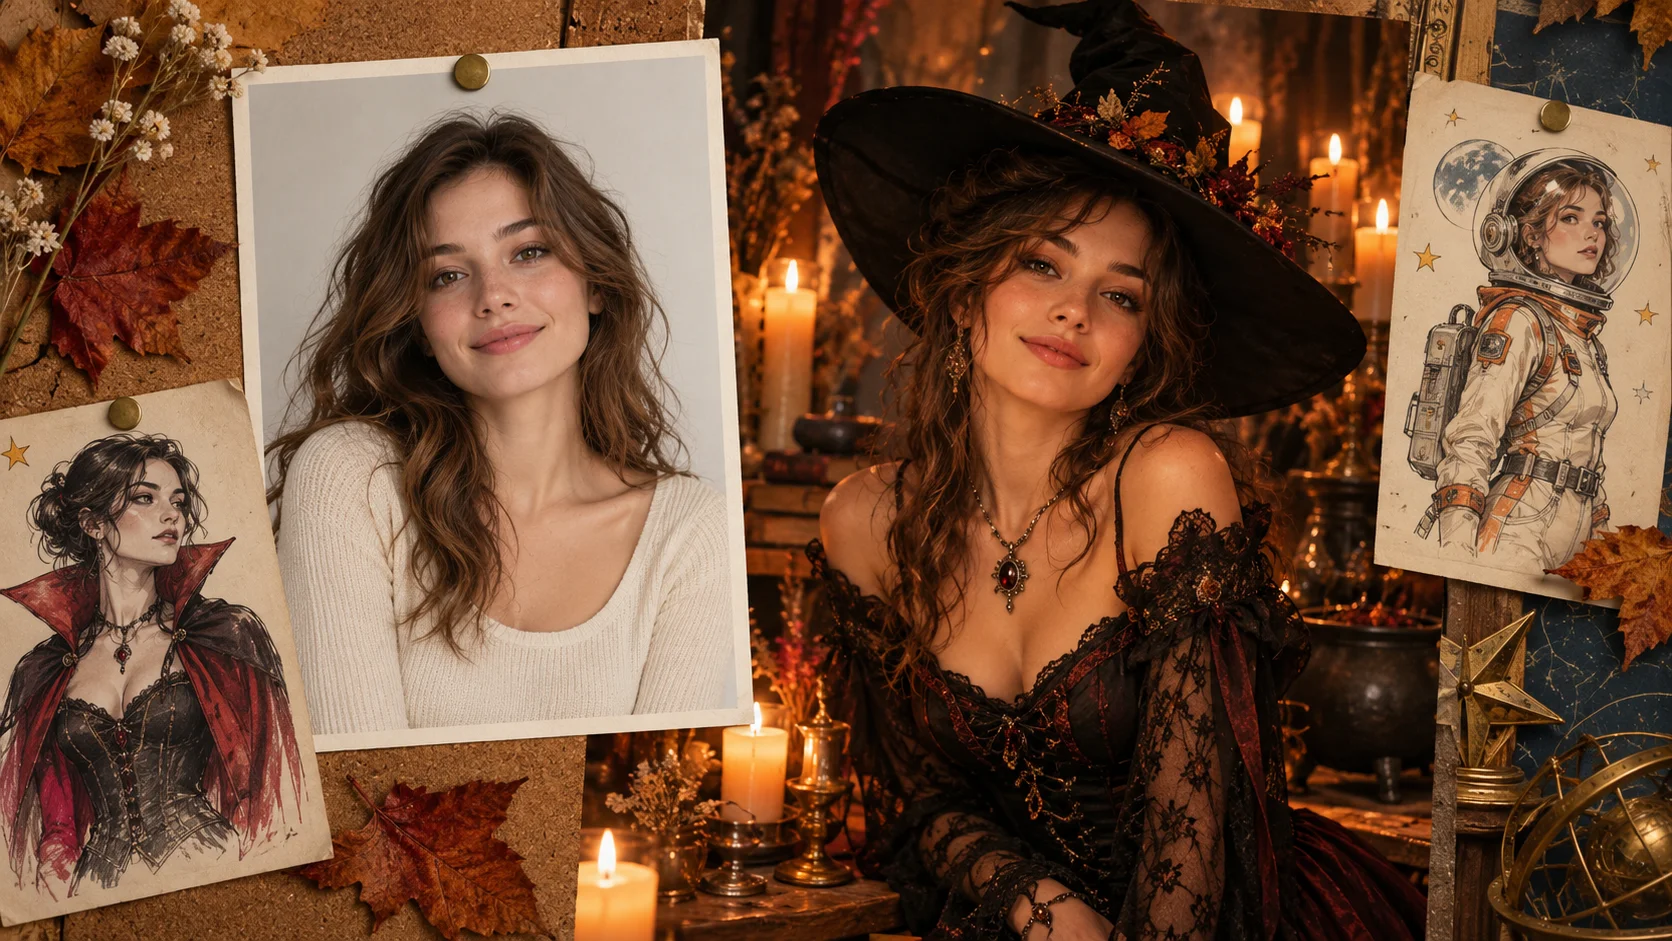
Make a costume portrait that combines a person, an outfit and a setting. Direct the fabric, accessories and lighting in your description, then review the finished image before choosing a character to share.
Choose Image to Image for your own portrait, add one clear photo and describe the outfit. Choose Text to Image for a new fictional person. Select the available settings and review the quote before generating.
You can plan the look before submitting a generation. To create the image, sign in and check your available credits. If those credits cover the displayed quote and the model permits access, you can proceed without buying more.
Use one sharp adult portrait with a visible face and shoulders. Even light and a simple background help. A head-and-shoulders photo suits a portrait; show more of the body when the dress or cape matters.
The generator shows the current credit quote for your selected model and settings. Read that amount before submitting. Changing the description or planning an outfit does not start a generation; a new submitted version is a separate job.
Follow the estimate and progress shown with your job. Waiting varies with the model, settings and current queue. Open History to check the result, and keep the existing job in progress rather than submitting the same request again.
An AI Halloween Costume generator helps you picture a character before you assemble the outfit. Turn an adult portrait into a candlelit witch, a velvet-caped vampire or an original space explorer. Start with a photo to guide the person, or use a written description for a new character. This page creates a still image; choose the costume transformation video tool when you want movement.
Create my costume portrait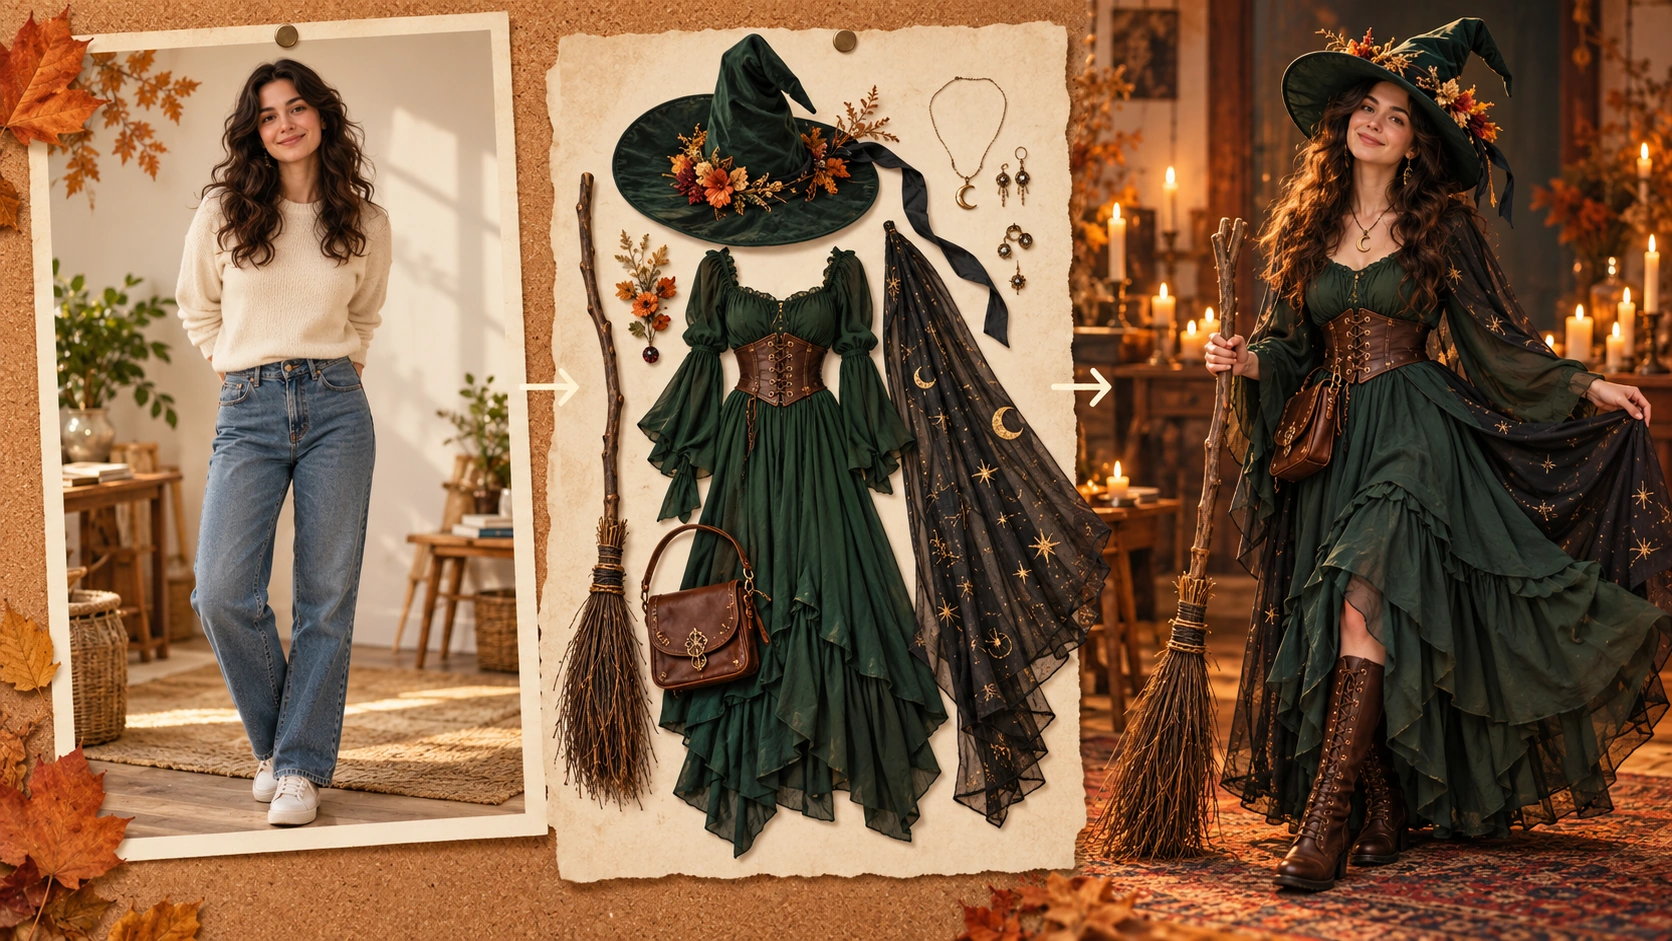
In Image to Image, upload one photo of the adult you want to dress. Pick a crop that already includes the important area: shoulders for a face-led portrait, or the full body for a long cloak. Check that hair, hands and clothing edges are visible before writing your direction.
Name one character idea, then describe its strongest details. Try a forest witch with layered green velvet, an autumn-trimmed hat and a small bronze pendant. Say which personal features to retain. A short coherent outfit brief is easier to refine than several competing costumes in one description.
Choose a setting that supports the outfit: a warm candlelit room, a courtyard at dusk or a simple studio backdrop. Use the model and image controls actually available in the generator. Read the updated credit quote and check your balance before you submit the image job.
Open the completed image in History and inspect it at a useful size. Check facial details, hands, jewelry and the edge of the costume. If one detail needs work, change that part of the description while keeping the rest steady. Download the version that best explains your character.
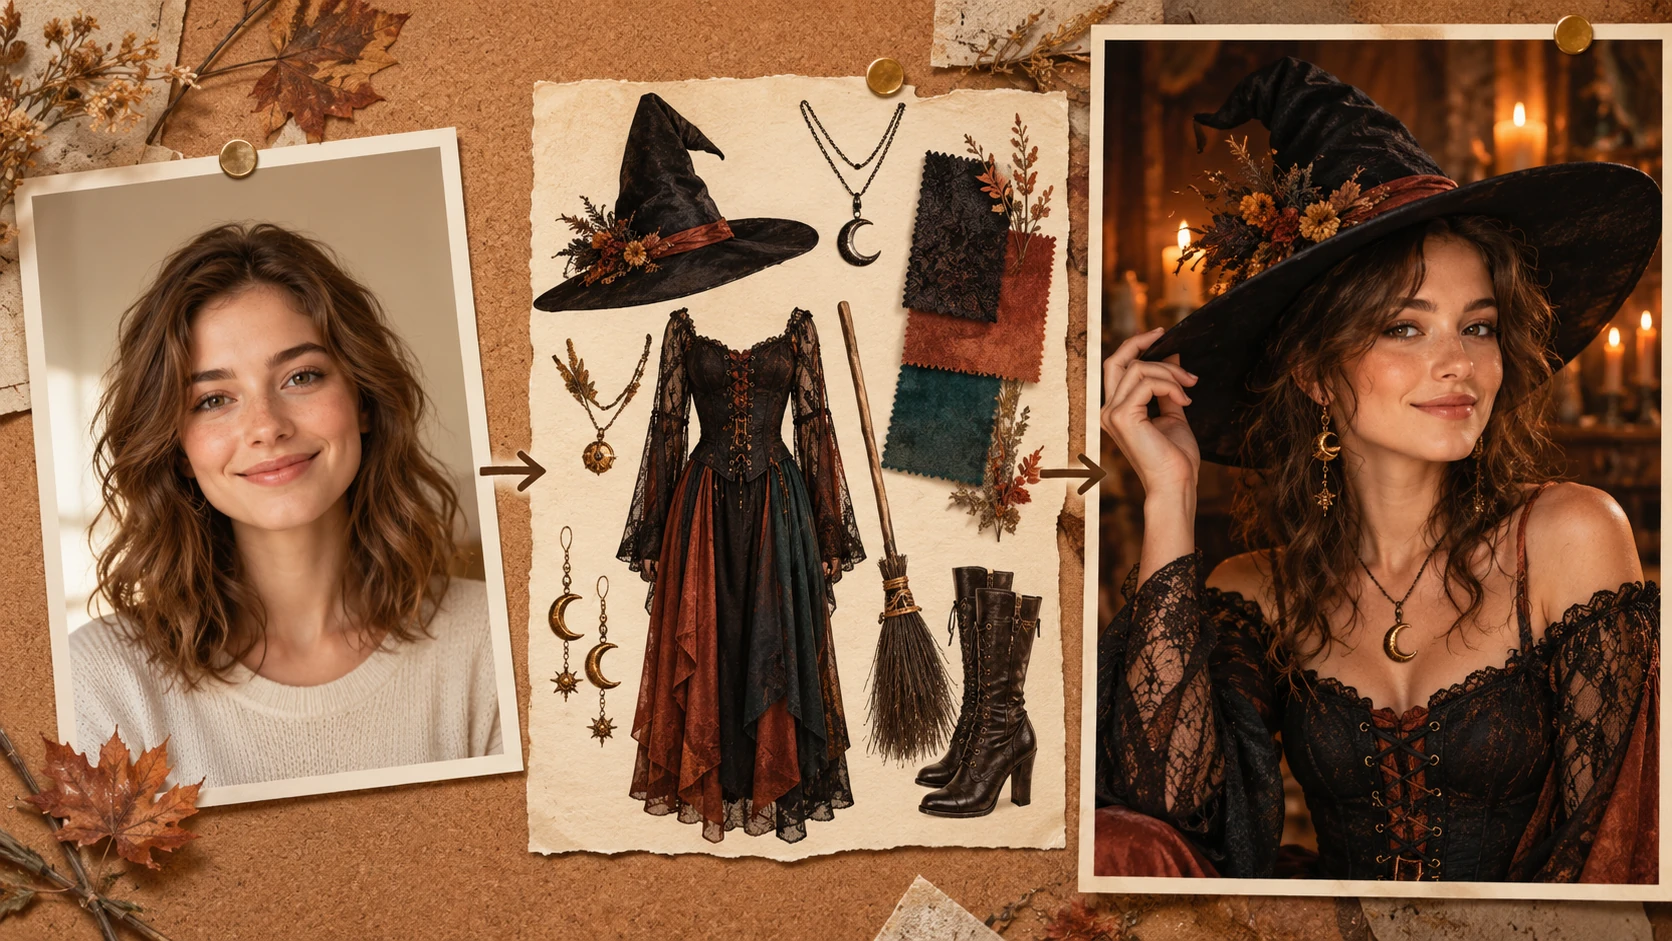
A costume changes more than a hat. A high collar can cover the neck, a cape changes the shoulder outline and a long skirt needs space below the waist. Choose your photo with that final composition in mind. You can describe a different backdrop, but a clean original makes it easier to judge what changed in the person and the outfit.
Let the expression carry the personality. A relaxed smile makes a witch feel welcoming; a direct gaze can make the same wardrobe more dramatic. Ask to retain the original facial features and expression, then check how closely the result follows them. Hair, makeup and lighting can all change how a face reads.
Choose the outline before adding ornaments. A wide hat, a high collar or a long cape can communicate the character even in a small profile image. Look at the image at the size you intend to use. Remove distracting accessories when they compete with the face or make the costume hard to read.
Warm candles can suit dark velvet, while soft daylight reveals lace and pale fabric. Keep the lighting direction coherent across the face, hat and shoulders. If the backdrop becomes too busy, ask for a quieter setting. The portrait should give the viewer one clear place to look before they notice the smaller details.
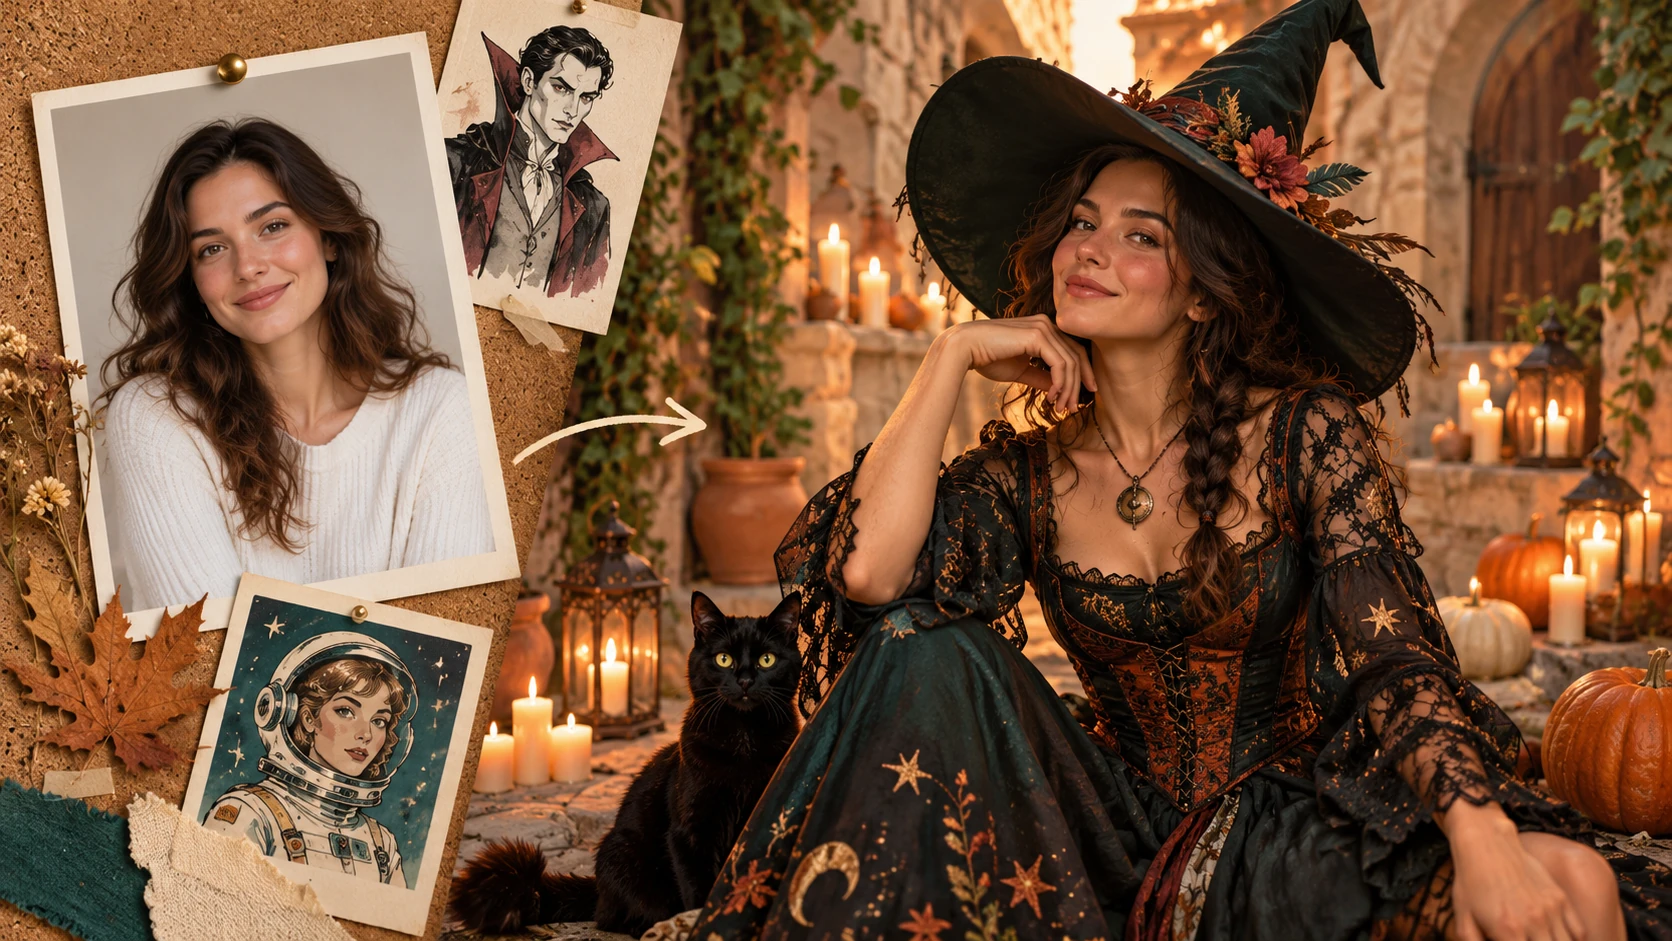
Pair forest-green fabric with dried leaves, warm brass and a welcoming expression. Use the portrait for an autumn party invitation or a seasonal profile image. A candlelit interior gives the outfit atmosphere without needing a frightening scene. Keep the hat clear of the eyes so the person remains the focus.
Build the look around a sharply shaped collar and deep burgundy fabric. Choose a calm pose and a simple stone or dark studio background. A single pendant or ring can add character. This direction suits an elegant portrait card where texture and expression matter more than a crowded collection of props.
Use a practical suit shape, copper-toned fastenings and a softly lit star-map setting for an original explorer. Keep the visor open or leave the helmet beside the person when facial visibility matters. Try this as a playful alternative to traditional Halloween clothing, with one strong accent color carrying the design.
This generator makes a still image. You can describe the outfit and setting for one portrait. For a moving reveal, use the Halloween costume transformation video page linked below and plan the turn or transition as a separate video scene.
Upload one photo in Image to Image when you want a person to guide the result. Text to Image needs no uploaded image and creates a character from your description. Choose the mode before preparing the rest of your request.
Ask to retain the face, expression and pose while replacing the clothing. A clear source photo helps you compare the result. Review the completed face and hands carefully, then refine the description if the costume changes details you wanted to keep.
Start from a full-body portrait and describe the complete costume, including the hem and footwear. Leave space around the person. For a close portrait, concentrate on the neckline, shoulders, hat and accessories that will actually appear inside the crop.
Write the character, fabric, two distinctive accessories and setting in that order. For example, describe a friendly forest witch in green velvet with an autumn hat and bronze pendant, lit by warm candles. Add preservation instructions for the person last.
Check the credits currently available in your account and the quote shown for the selected settings. Access depends on the model and your account conditions. Prepare your description first, then decide whether your available balance covers the generation you want to submit.
The job shows its progress and estimated waiting time. You can return to History to review the completed image. Model choice, settings and queue conditions affect waiting, so use the current job status when deciding whether to keep waiting or review a result.
Use the portrait to communicate a visual direction: silhouette, fabric, colors and accessories. It does not supply clothing measurements or a list of exact shop items. Turn the parts you like into a practical costume checklist before sourcing or making the pieces.
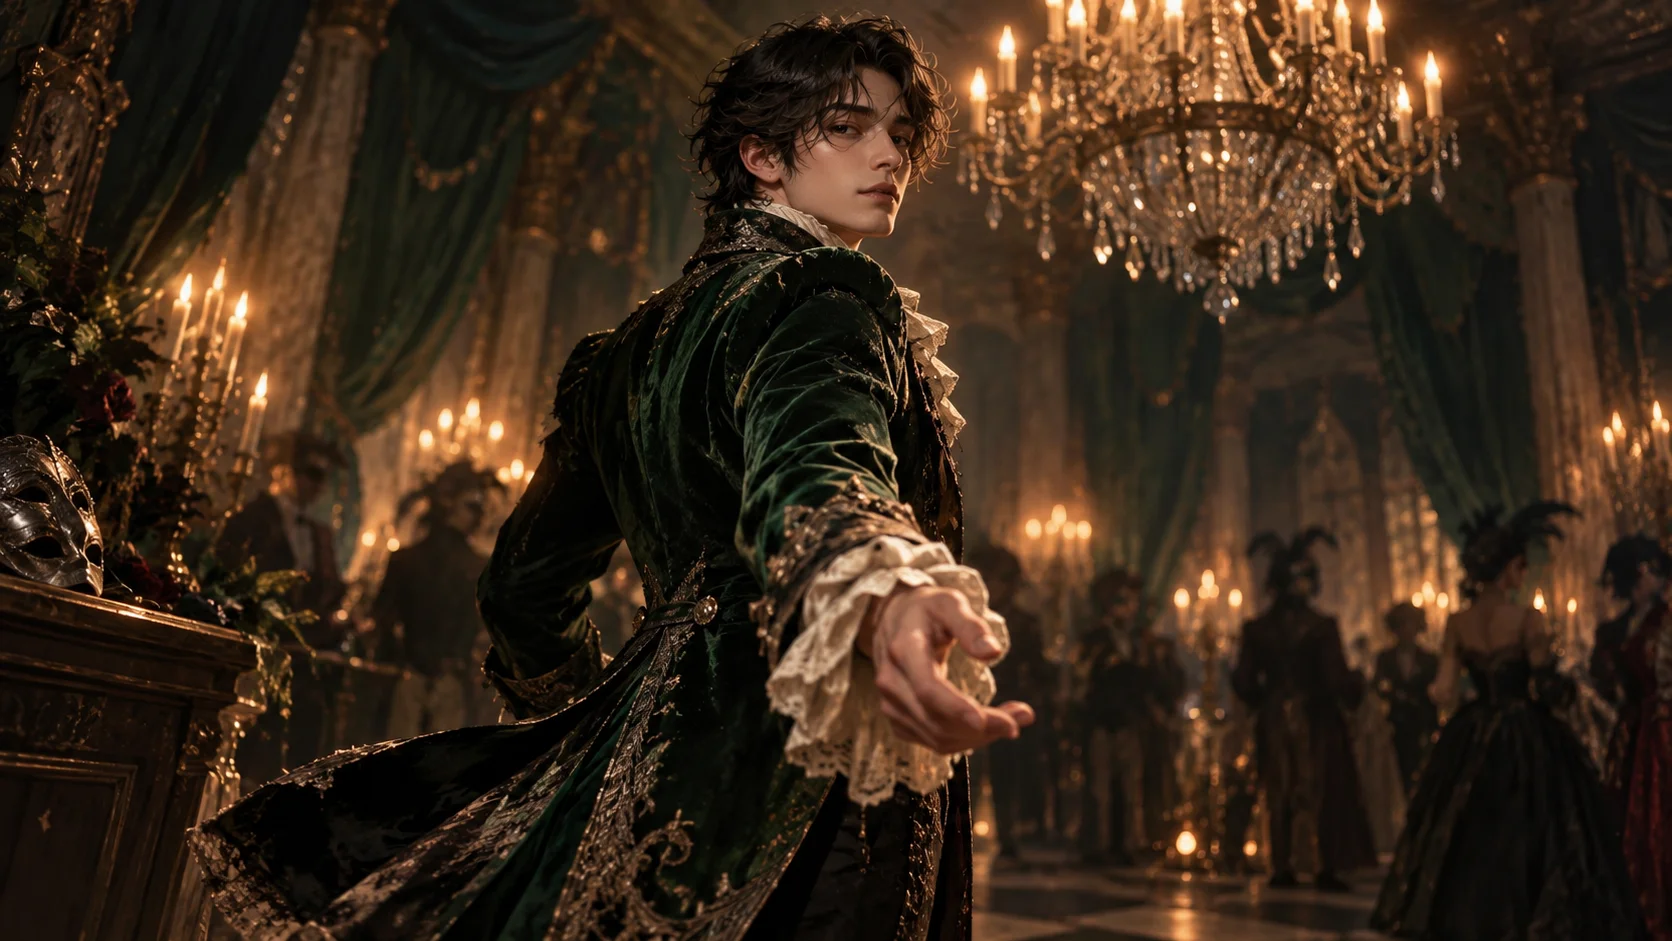
Plan a short moving costume reveal when you want a turn, fabric motion and atmosphere beyond a single portrait.
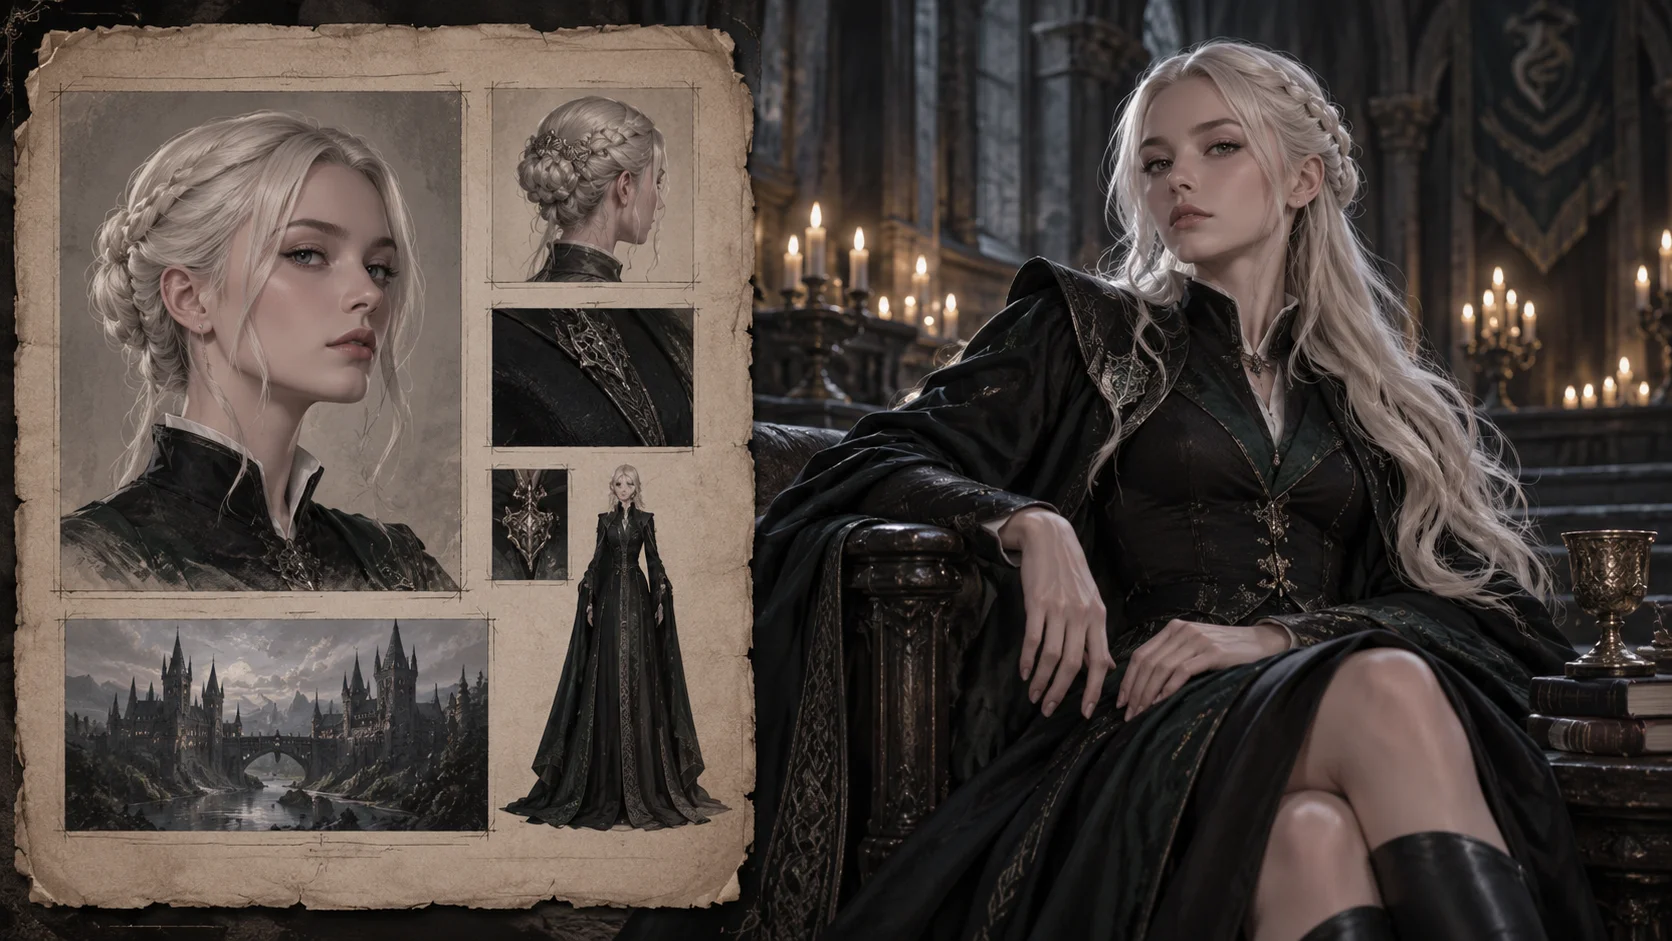
Explore a platinum-haired academy character with tailored clothing and a gothic setting for a different fantasy portrait direction.
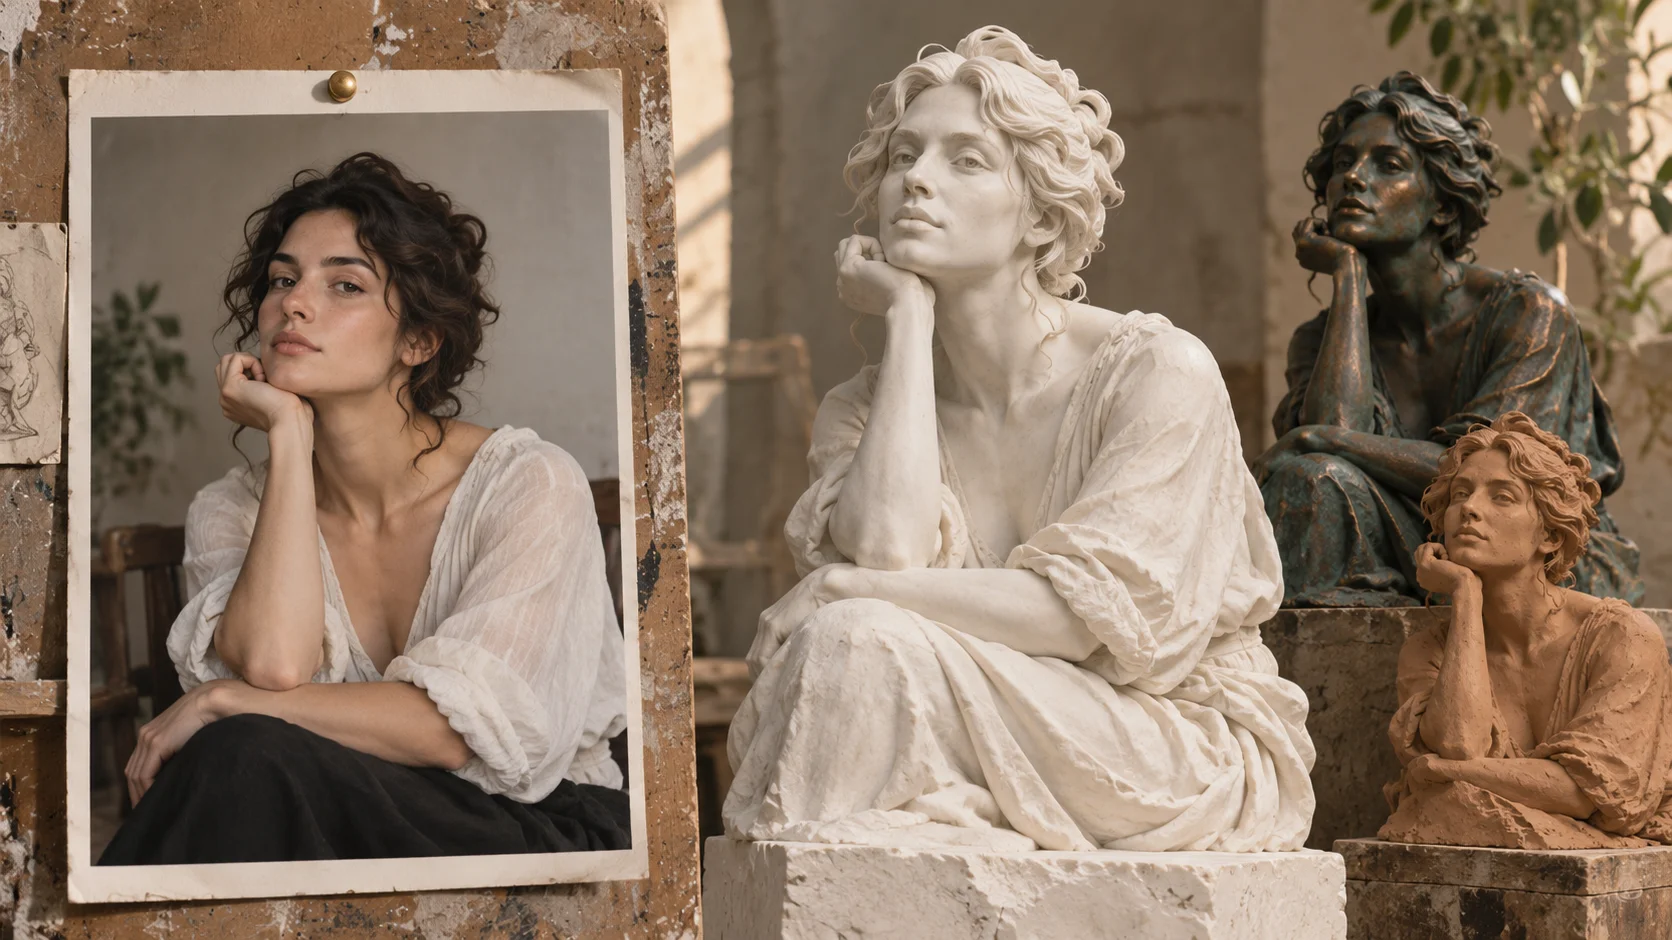
Turn the same portrait idea toward marble, bronze or clay when sculptural texture suits the character better than clothing.
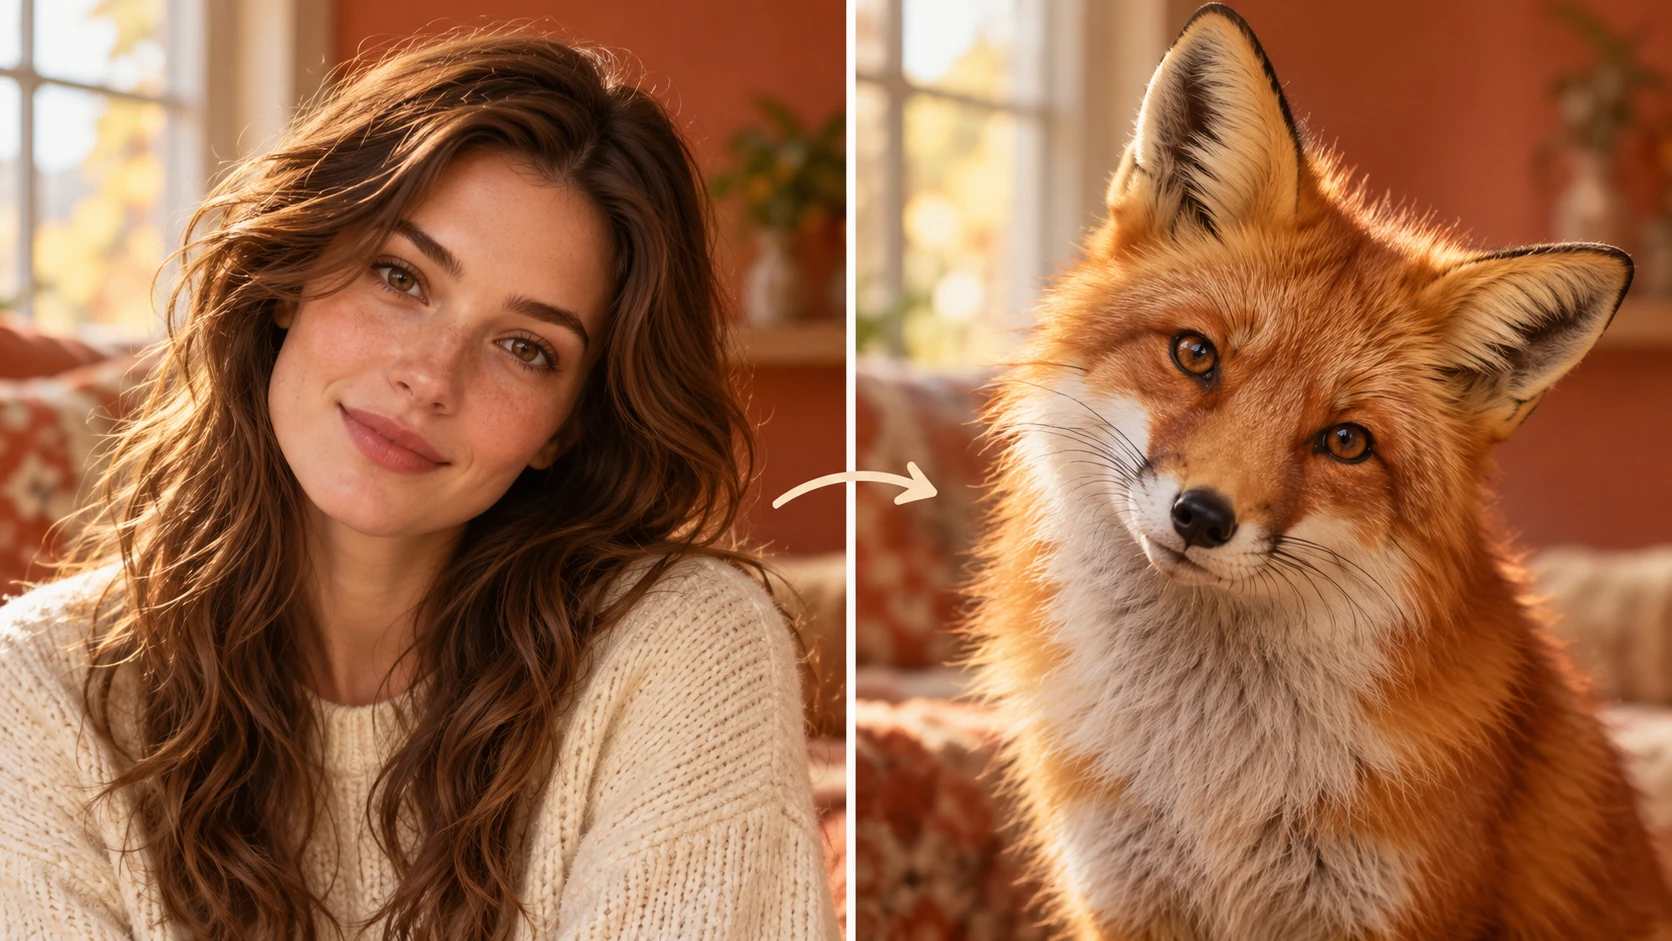
Try an animal-inspired portrait when an expressive creature silhouette is a better starting point for your original character.
Pick the costume detail that matters most, add it to your description and check the current quote. Review the first portrait before expanding the outfit or changing the scene.
Create my costume portraitaliceai.art · Updated